We’re often asked if we sell solar panels directly to homeowners planning to install them on their own. Unfortunately for DIY-ers, the answer we usually have to give is no, however, with good reason!
Although DIY solar installation can save you money, it can come with risks and challenges. In this guide, we’ll walk you through what you will need to consider, and why we don’t typically recommend going the DIY route for solar.
Understand Your Energy Needs
The first step to going solar is gathering your electricity bills over the past year. This will allow you to understand how much power you use monthly and when your usage is highest. Knowing your average consumption (in kilowatt-hours) helps determine the size of the solar system you need.
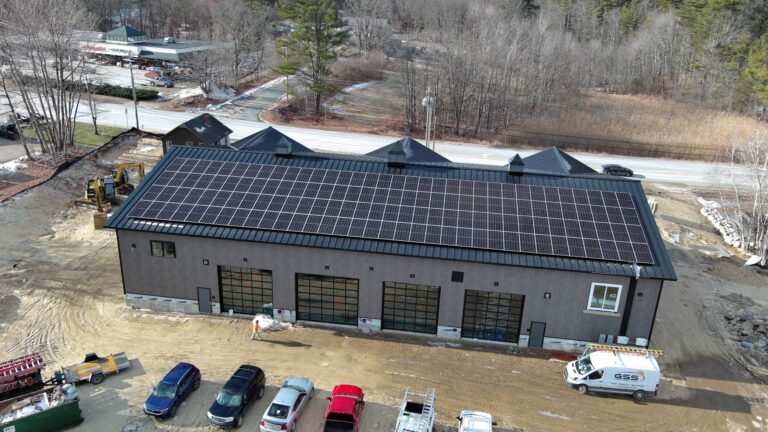
At Granite State Solar, we always recommend evaluating the roof with an in-person assessment. We fly drones over your site to take photos and develop a 3-D rendering of your home and accurately model your solar access across the year. This ensures we can maximize the efficiency of your system.
Unless you’ve got access to tools to measure solar access, you won’t necessarily be installing a system that it’s set up for maximum efficiency.
Local Regulations
Every municipality and city have different regulations and requirements for solar projects. Some places require permits, inspections, and it may even be a requirement to have your system installed by a licensed installer. Utilities may also require system approval before you can connect to the grid. Skipping this step can result in fines or being forced to take down your system.
Working with a local company with expertise in these regulations will help streamline this step (and may even be a prerequisite to getting a system installed).
Property Considerations
To determine if your site is a good fit for solar, you need to assess a few factors on your site.
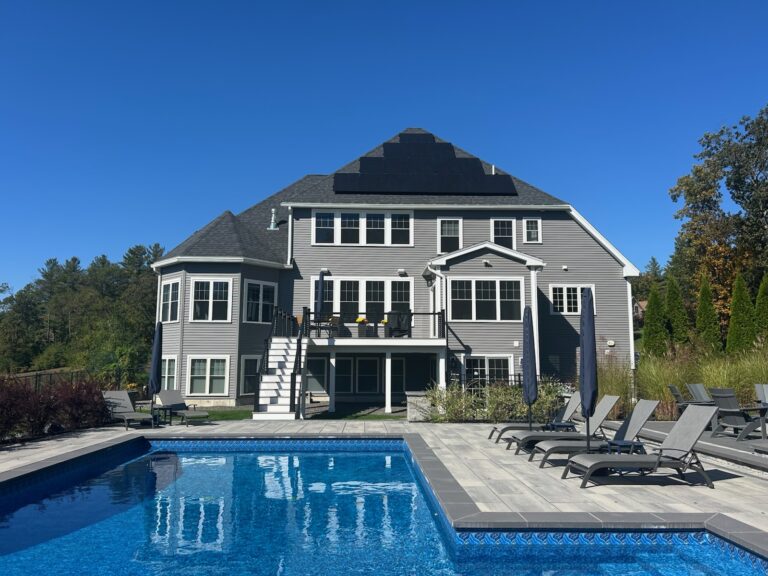
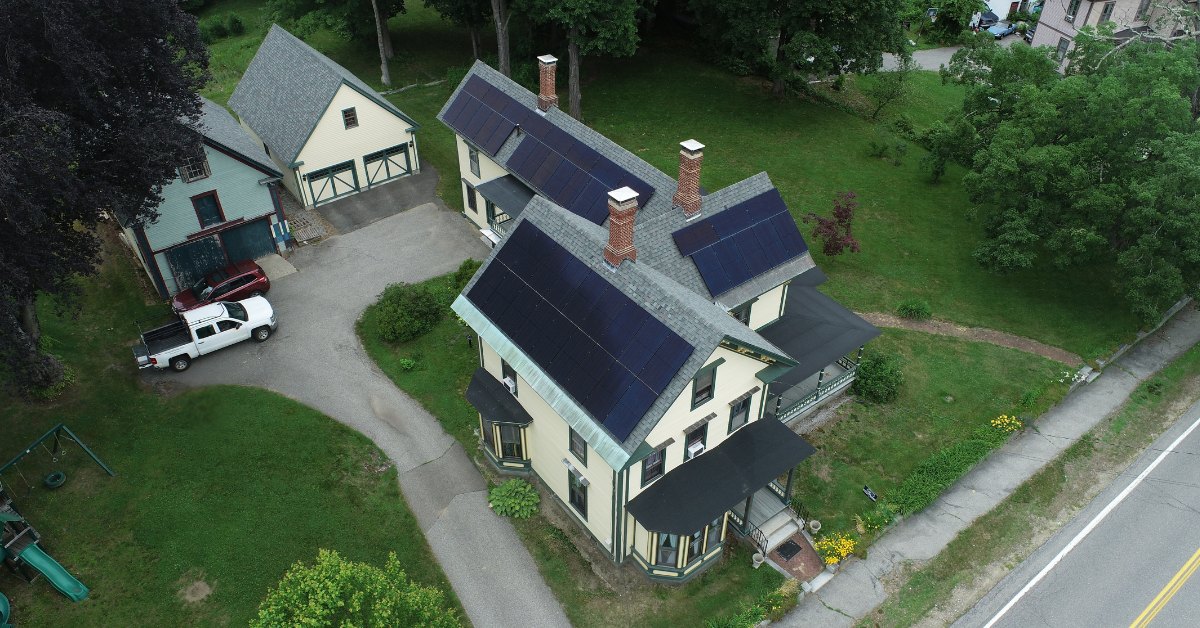
· Solar Access: To be efficient, solar panels need direct access to sunlight, so whether you plan on installing a roof or a ground-mount, you’ll need to determine how much sun access your panels will have throughout the day.
· Orientation: The direction of your roof will determine how much sunlight your panels get throughout the day. Roofs facing south get the most direct sunlight.
· Roof Condition: If your roof hasn’t been replaced within 15 years, we suggest replacing it unless it is made of corrugated metal – which might be able to stretch to 20 years.
· Roof Material: The material of your roof will impact how easy it is to install panels on it. Some require drilling, which can cause damage if not done correctly. Certain roof materials cannot hold the weight of solar panels.
At GSS, we have nearly two decades of experience installing solar for NH residents on various roof orientations and surfaces. Our installations also come with a 12-year workmanship warranty. Don’t under-estimate the importance of quality craftsmanship if you’re going to be drilling holes in your roof and introducing potential leak points. Keep in mind that going the DIY route could lead to costly damage to your roof if the equipment is not installed correctly!
Choosing the Right Equipment
A solar system is made up of several parts that work together to generate and manage your power. It’s important to make sure the equipment you choose is compatible with one another. Remember that not all products are created equal, so even if you’re getting a ‘good deal’ from a supplier on your solar panels, be sure to do the research on the warranty and read reviews, to make sure the equipment is reliable. You’ll also want to ensure the products are sourced from reliable vendors.
Here’s what you’ll need:
· Solar Panels
· Inverters
· Mounting System
· Monitoring System
At Granite State Solar, we only source and install products that are time-tested, with industry-leading manufacturer warranties. Once we complete the installation, we come out to your home for a final walk-through and make sure we set you up with your in-app monitoring system. This allows you to monitor your solar system’s production and consumption daily!
Plan the Installation Carefully
To successfully install your system, you’ll need to:
· Design the system layout (panel placement and wiring paths)
· Install racking and secure panels
· Wire the system (DC to inverter to home/grid)
· Connect to the breaker panel and possibly the utility grid
As you can imagine, these steps all require design skills, electrical knowledge, comfort working on roofs, and adherence to safety codes.
Final Thoughts
While installing your own solar can save you money, we don’t typically recommend undertaking a DIY solar project unless you’ve got the technical electrical skills, local permitting knowledge, and access to top quality product vendors. If not, the DIY route can be fraught with challenges, leading to risks like injuries, an underperforming system, or damage to your roof. If you are considering DIY solar, please be sure to do your research first.
When you choose Granite State Solar, we make the process simple. We handle everything from the initial evaluation and permitting to the final installation—and we’re here for support long after your system is up and running. If you decide to work with a professional install team, we’re ready to help!